一、LNMP搭建,基于nginx服务器搭建wordpress个人博客
打算环境:
centos7.6环境下
web服务器(nginx+php):主机名:web01,ip:192.168.248.172
mysql服务器(mariadb):主机名:db01linux教程下载,ip:192.168.248.177
关掉selinux安全插件
关掉防火墙
———————————————————————————————————————————————————-
web01服务器上:
1.安装nginxphp环境搭建 linuxlinux中文乱码,安装才能解析php文件的相关软件包
注意:这儿nginx默认是静态服务器,要想处理php动态文件必需要安装php相关的软件。
安装nginx须要先配置nginx的yum库房,配置方式在官网查看到:
#RHEL-CentOS
根据以上方式,搭建一个稳定版的nginx的yum源,:
[root@web01 html]# cat /etc/yum.repos.d/nginx-stable.repo
[nginx-stable]
name = Add a nginx_stable repository                                        #只是描述,不重要

baseurl = http://nginx.org/packages/centos/$releasever/$basearch/          #联网情况下,下载
gpgcheck = 1                                                                 #是否开启检查,0关闭
gpgkey = https://nginx.org/keys/nginx_signing.key                           #基于此地址检查
搭建好yum库房后
1 [root@web01 html]# yum install nginx -y                #开始安装
2 [root@web01 html]# systemctl start  nginx
3 [root@web01 html]# systemctl enable nginx            #把nginx执行为开机自启动
4 [root@web01 html]# systemctl status nginx            #检查nginx状态
web01服务器上:
#执行yuminstall安装以下软件包,我用的是阿里云的base源和epel源
#检测软件包安装情况
[root@web01 html]# rpm -qa |grep php        #列出相关的php软件包
php-common-5.4.16-46.el7.x86_64
php-fpm-5.4.16-46.el7.x86_64
php-mysql-5.4.16-46.el7.x86_64
php-pdo-5.4.16-46.el7.x86_64
[root@web01 html]# systemctl start php-fpm
#这儿可以选择启动php-fpm服务,这个服务是帮助nginx解析动态php文件的。
—————————————————————————————————————————————--
db01服务器上:
#安装mysql服务,注意:centos7里mysql服务的软件包名为mariadb,而非mysql
#安装以下软件包
[root@db01 ~]# rpm -qa |grep mariadb
mariadb-libs-5.5.60-1.el7_5.x86_64
mariadb-5.5.60-1.el7_5.x86_64
mariadb-server-5.5.60-1.el7_5.x86_64

[root@db01 ~]# systemctl start mariadb.service    #启动mariadb服务
[root@db01 ~]# systemctl enable mariadb.service
[root@db01 ~]# systemctl status mariadb.service
2.配置nginx+php+mysql,(wordpress博客的搭建),假若出现404错误可参考对照下边代码改进
[root@web01 html]# cat /etc/nginx/nginx.conf
    ...
 include /etc/nginx/conf.d/*.conf;
[root@web01 html]# cat /etc/nginx/conf.d/web.test.com.conf   #主配置文件包含了以.conf结尾的文件
server {

    listen 80;                                               #nginx服务被监听在的端口,可修改
    server_name www.dark.com;                                #定义的域名,windows使用域名访问时要在windows下hosts定义
    access_log /var/log/nginx/dark.com.log tt;               #定义的日志格式,tt为定义的日志格式变量
                                                  #以下才是重点
    location / {
        root /usr/share/nginx/html;                         #这里定义默认的/目录为/usr/share/nginx/html,即php文件所在的目录
        index index.html index.php;                         #设置默认的访问页面,注意:index.php不能少
    }

                                                           #以下的php动态的编写格式在default.conf文件里有例句格式

    location ~ .php$ {                                    #匹配以php结尾的文件
        root        html;
        fastcgi_pass   127.0.0.1:9000;                     #匹配到的php文件让php-fpm服务帮忙解析,检查进程端口是否开启
        fastcgi_index  index.php;
  fastcgi_param SCRIPT_FILENAME /usr/share/nginx/html$fastcgi_script_name; #指定了存放php文件的位置,也可以在root那行定义 include fastcgi_params; } }  [root@web01 html]# nginx -t #检查nginx配置文件语法是否有误 [root@web01 html]# systemctl restart nginx
3.打算好wordpress压缩包,网上自行下载,注意:wordpress5.2以上版本要求的php版本为5.6以上的。
[root@web01 html]# pwd

/usr/share/nginx/html
[root@web01 html]# unzip wordpress5.0.zip
#解压wordpress压缩包至/usr/share/nginx/html下,即上面nginx配置文件定义的路径php环境搭建 linux,注意:解压后要有index.php文件,而不是wordpress5.0目录。
[root@web01html]#ll#这儿搭建的是php网站,最好把解压之前早已存在的无关的html,php和其他文件都注释了
—————————————————————————————————————————————--
#注意:浏览器有一定时间的缓存,假如页面打不开或与配置的不一致也很有可能是缓存的缘由,
#完成上述步骤后,就可以通过浏览器开始wordpress初始化安装了
初始页:比如:
初始化时要求输入:
数据库名称为wordpress
数据库用户名为wordpress
数据库密码为123
表前缀wp_
#完成前面页面的输入信息后,会提示只能自动输入,则
[root@web01html]#vimwp-config.php#把框中的信息复制到wp-config.php里
#信息输入完成完成
—————————————————————————————————————————————-

#db01上创建数据库,用户和密码要与web页面输入的对应一致:
[root@db01 ~]# mysql           #进入mysql,执行以下几行

create database wordpress;       #创建wordpress表
grant all privileges on wordpress.* to wordpress@'localhost' identified by '123';        #创建用户名和密码,即初始化添加的用户密码
grant all privileges on wordpress.* to    wordpress@'192.168.248.%' identified by '123';    #允许此网段内使用此用户名密码登录数据库
[root@web01 html]# mysql -uwordpress -p123 -h192.168.248.177        #在web01上验证是否能远程登录数据库
重启所有服务
[root@web01 html]# systemctl restart nginx
[root@web01 html]# systemctl restart php-fpm
[root@web01 html]# ss -lntup |grep 9000
[root@db01 ~]# systemctl restart mariadb.service
###############博客文章为原创,仅供参考学习使用########################
——————————————————————————————————————————————--
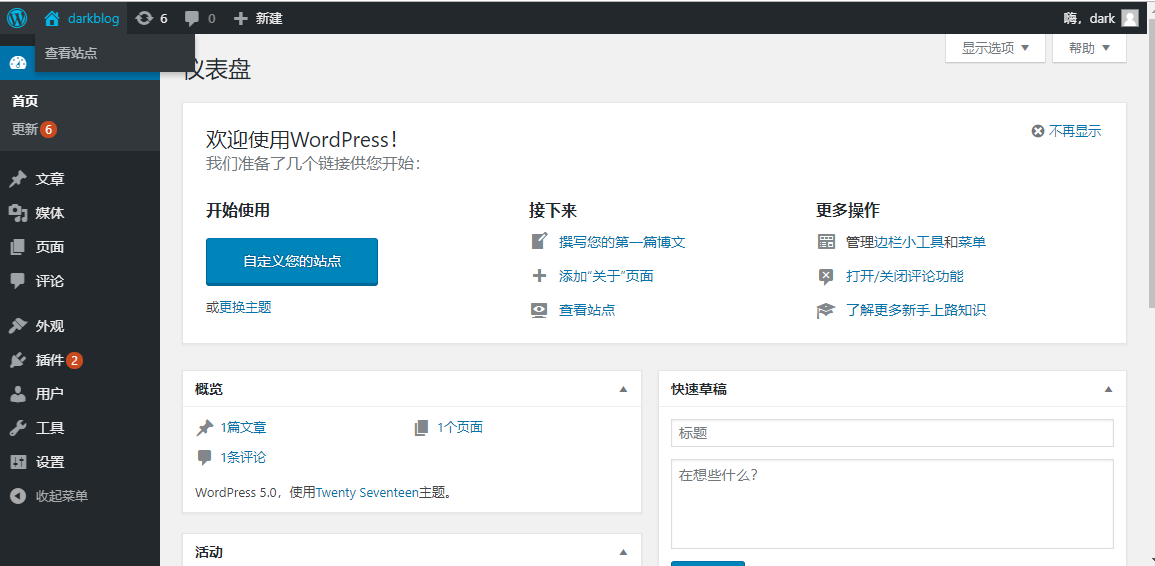
大功告成,搭建完成

